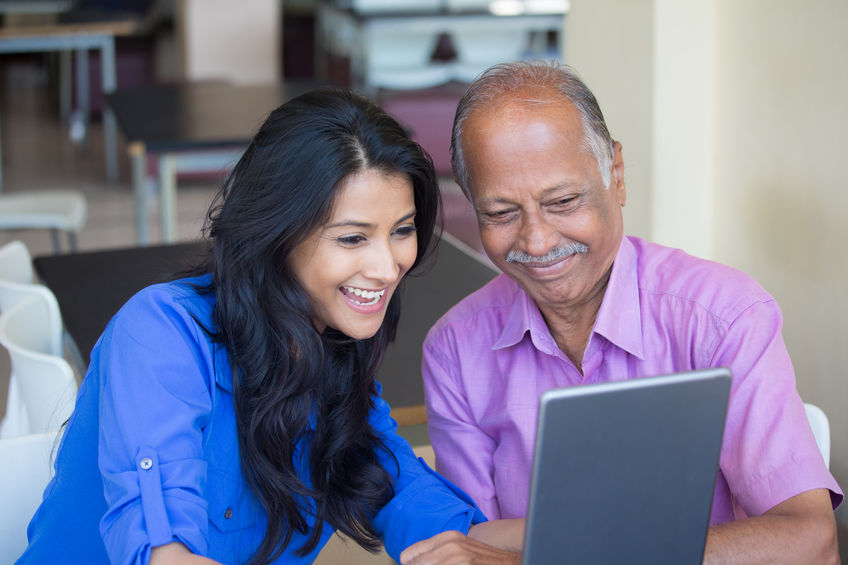
Before the video interview, we speak with our subject and/or family members to learn more about the family, and see what visual materials might be available.
It can be helpful in the interview to have some well-chosen visuals. (A huge trunk of family photos will overwhelm us at the interview.)
A Conversation
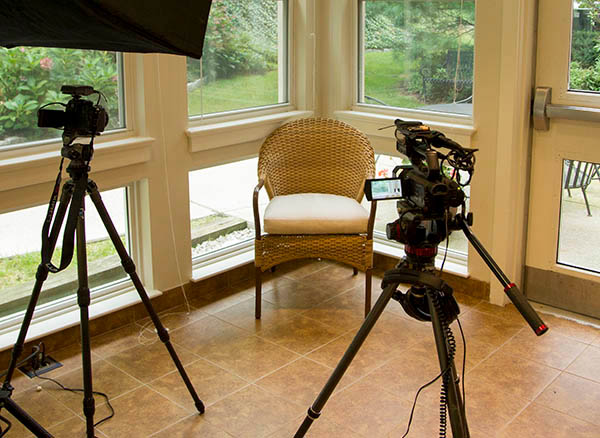
The starting point is simply to have a conversation and record it on video with the least fuss possible, while still getting quality sound and visuals. Most often, we will find a space where our subject lives that is well lit and quiet, and talk there.
We try to avoid bringing in lights or a crew.
One person sets up the equipment before the interview starts, then conducts the interview. This keeps the process simple and affordable.
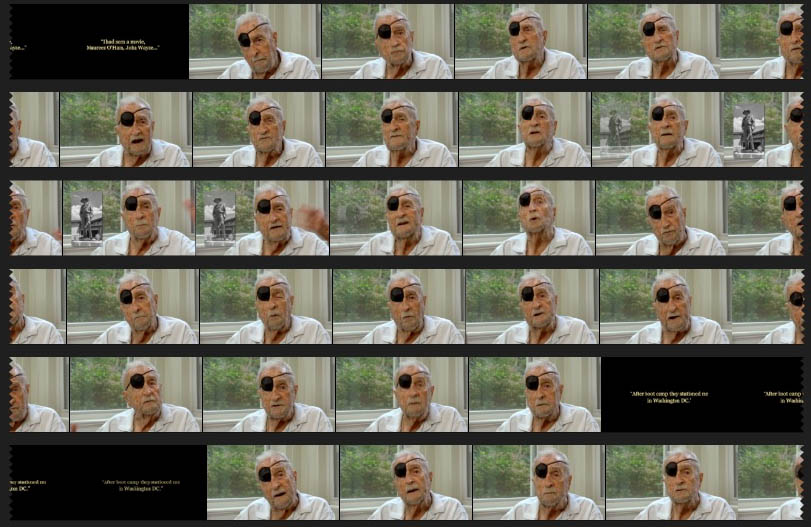
We often start with the most basic question: “What is the very first thing you can remember?” The conversation usually takes off from there.
Sound: The Critical Element
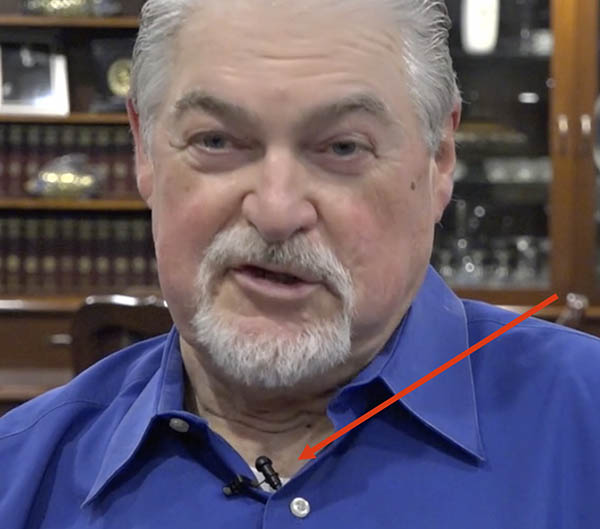
It can hardly be emphasized enough: the quality of sound is essential to a good, engaging video. In fact, it is even possible to create an entire video just with a good audio interview and supplied still images.
We go through the process of placing a Lavalier microphone on the subject and hiding the wire under clothing. This close microphone is the best way to get good, clear sound and minimize unwanted noise from traffic, HVAC, and so forth.
We usually also use a 2nd shotgun mic on the camera as a backup
Two Cameras
We tend to work with two cameras. One provides a wide angle view, the other gives us a closeup. This way, during editing, we can vary the view. And occasionally a person will look better from a different angle and two cameras gives us this option.
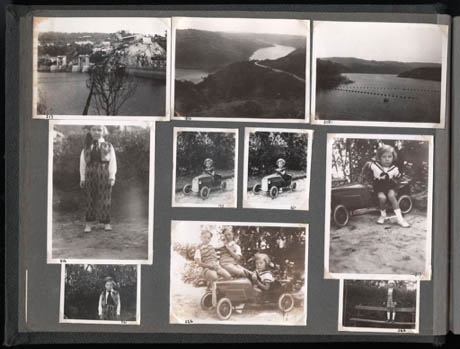
Refering to Visuals
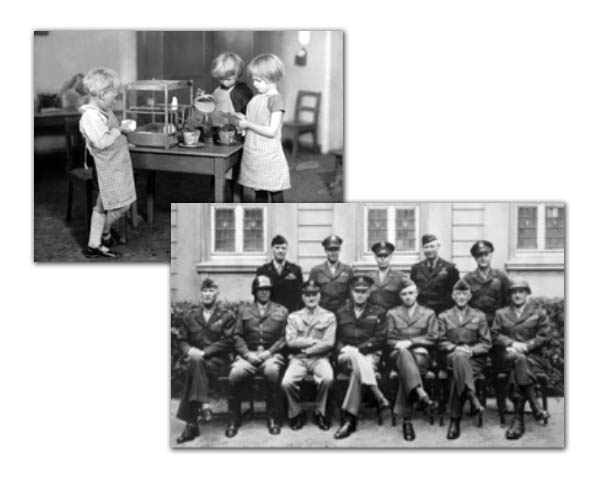
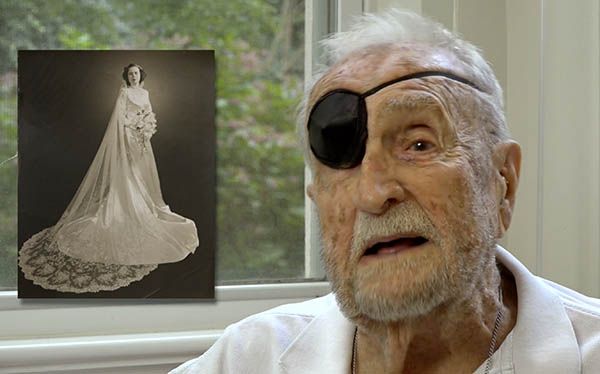
Visuals that our subject or family have are a rich source of memories and family history. This can be a chance to identify people in old photos and document names and faces.
Normally we photograph the visuals on site and then add them into the video during editing.
Editing Part 1: Finding the Good Moments
The first step in editing is to sift through all of the video, and isolate the best moments; the moments where the subject comes across with the most energy and with the best memories.
It is helpful that the original videographer usually does the edit: they already know where to look for the good moments.
Editing Part 2: Putting Things in Order
While our starting point is usually to put the video into chronological order, it is rarely that simple. Sometimes the conversation comes around to the same topic more than once.
So we create a series of segments and watch them a few times to decide what is the most effective order in which to present them.
Usually an hour interview results in 15 minutes of final video, so much material does end up “on the cutting room floor”.
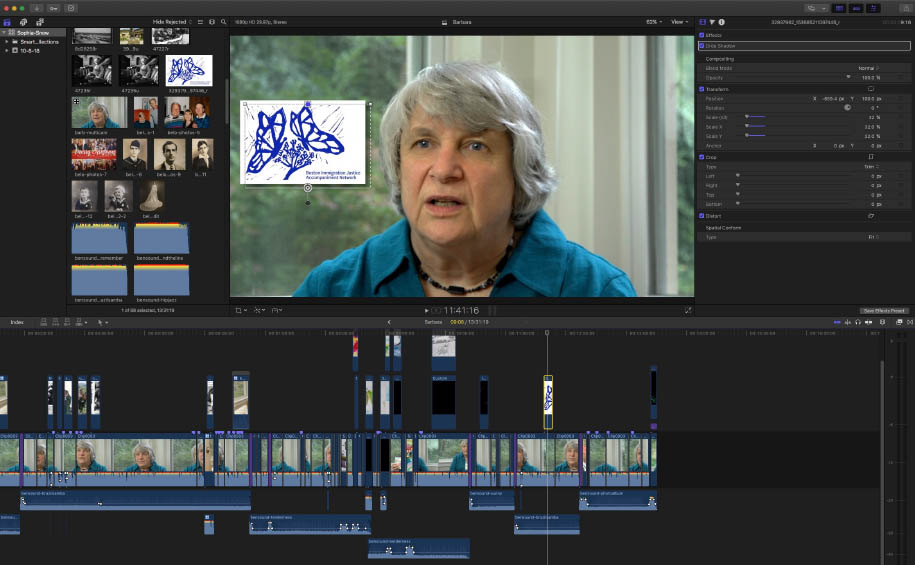
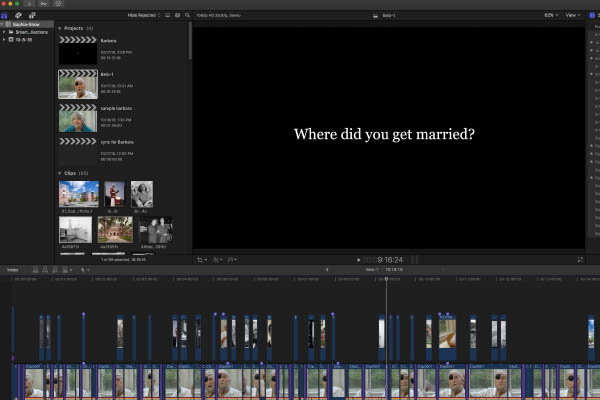
Editing Part 3: Adding Titles
We use titles to show the question the subject is answering. This has a number of benefits:
1. It separates each segment neatly for the viewer.
2. It eliminates the clunky off-mic voice asking the question.
It can also help the viewer to understand the answer by getting a clear view of the question.
Editing Part 4: Prepping & Placing Stills
We always open all stills in Photoshop and clean them up before we place them. Then we find the best area of the frame, decide the entry and exit point and program them into place.
In some cases, the still images are best taking over the whole frame; for others they are best placed alongside the speaker.
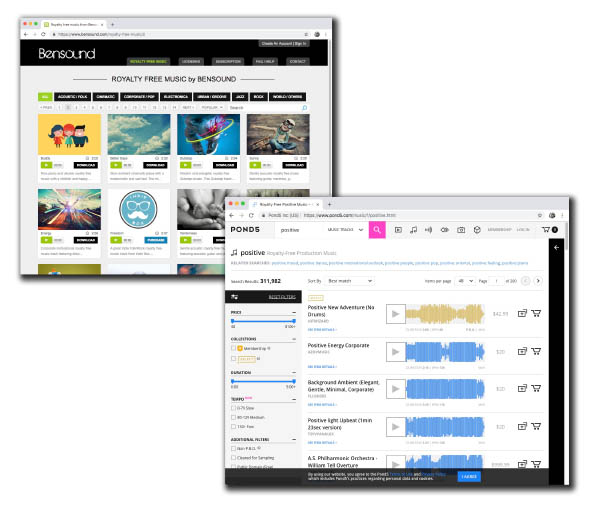
Editing Part 5: Adding Music
We find licensed music that fits the mood of the video.
No, we cannot use popular music. If you create your own videos for family-only use, you can use popular music of any era. However, if we charge you for the service and “borrow” the Beatles or Frank Sinatra, we can be in legal and financial trouble!
Editing Part 6: Final Reviews
When the video is ready for review, we place it online and send a private link. The subject and/or family can watch and send feedback. Naturally, we can not provide unlimited revisions, but we will make any changes that are requested in one major revision.
Special situations do arise, such as “Can we get a special version of that for Uncle Bob, without the part about the President?” In these cases, we would give an estimate for the special version, usually in the range of $100 to $300.
Delivering the Video
These days it is most cost effective to deliver the video via an online service, such as YouTube or Vimeo.
The actual video file is also be made available for download.
If requested, we can also create a DVD, for a extra fee of $50. But you can simply take the video on a thumb drive to Costco or other source and have them create a DVD.